40 free credits every month — sign up free, no card Get started
Transform a character
1. Model

fast · reference-based edits · cheapest

2. Style / Look
Upload image Click or drop an image · PNG, JPG or WebP
Mode

Describe any edit in plain English

Identity

Same character, same style — changes only what you describe. (Recommended)

One-click edits
3. Prompt
Prompt
4. Output
Advanced
All history

Image workspace · How it works

Create, refine, and reuse images

Start with a prompt or reference, choose your output, and keep building from the images you make.

Upload image Reference image
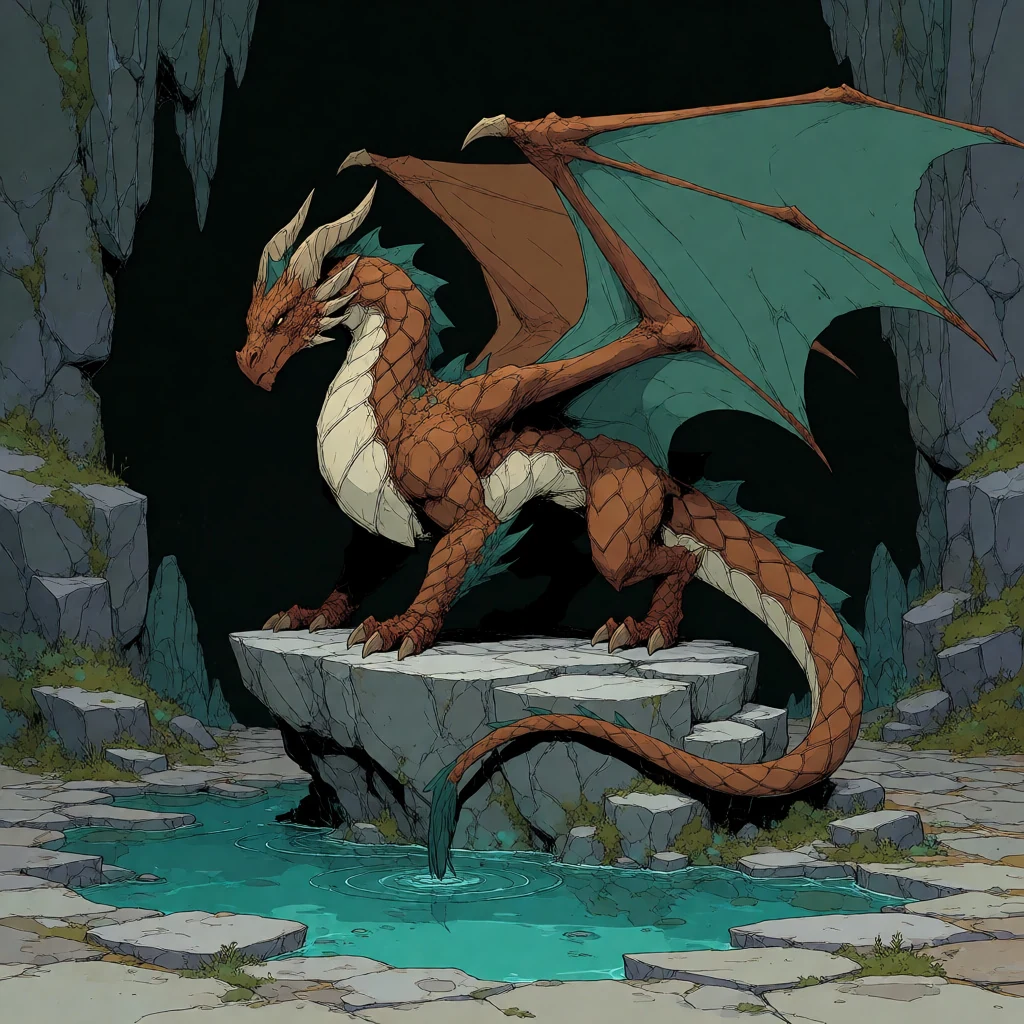
Example starting image
01

Give it a starting point

Describe the image you want, or bring an existing image into an edit or variation tool.

Aspect1:1
Images4 images
BackgroundAuto
Output settings
02

Set your output

Choose the available aspect ratio, image count, and background options before generating.
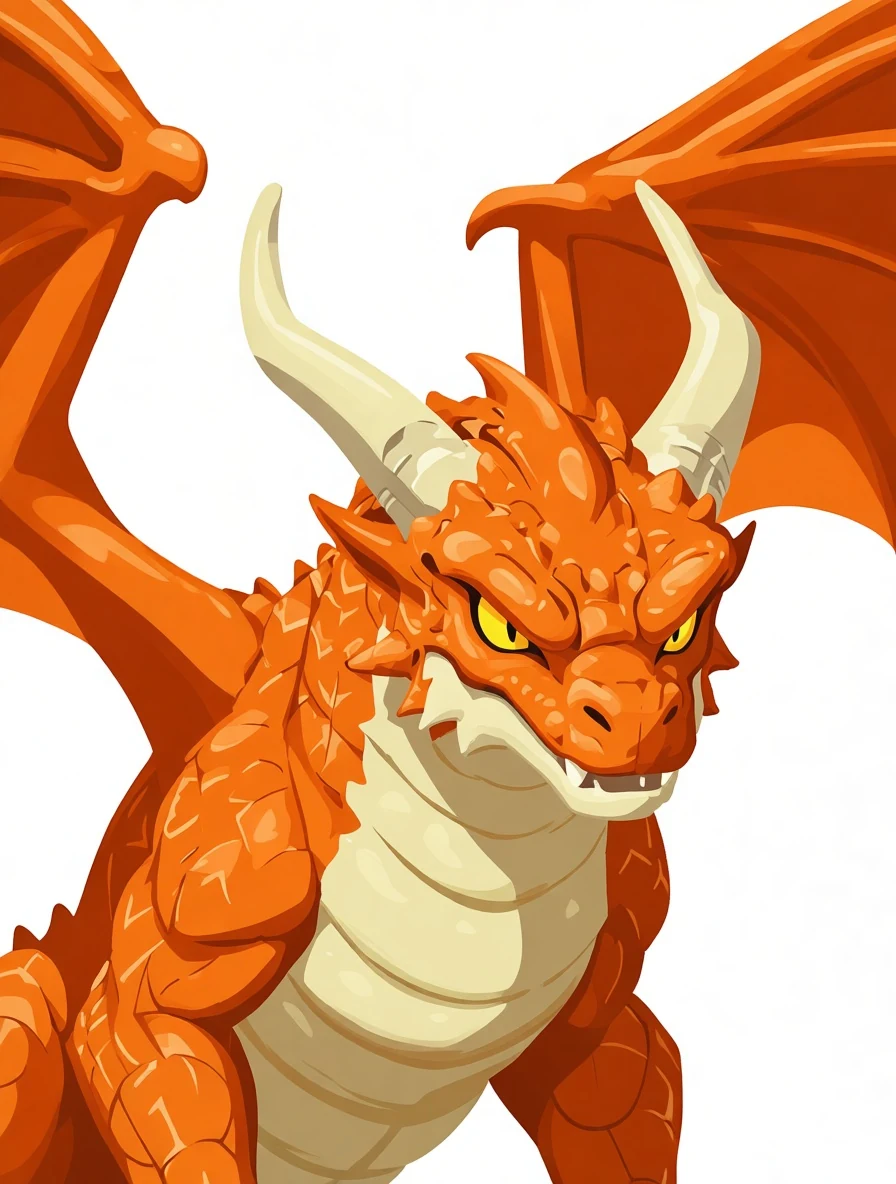
Example generated image Ready to reuse
03

Pick a result and keep going

Your images appear in the canvas and Recent Images. Reuse one as input or find older work in history.

Your results stay available in All history and All recent jobs.

Audio input
“Change from electric to fire monkey” “Change from electric to water monkey”
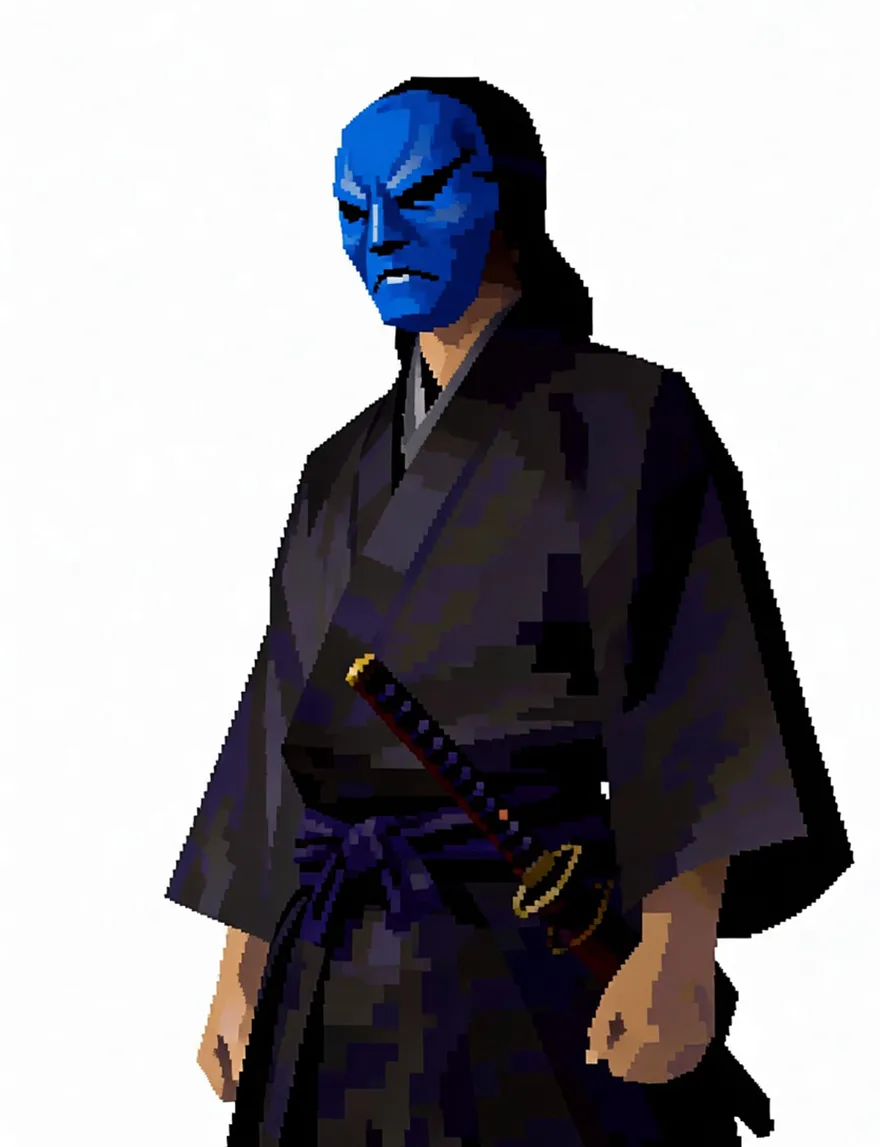
Pixel-art samurai after a one-instruction mask recolour — everything else unchanged

Describe the change — everything else stays put

Write the edit in plain English and the model changes exactly that. Identity is locked by default: face, outfit, colors and rendering style carry over untouched, so a wardrobe swap never becomes a new character.
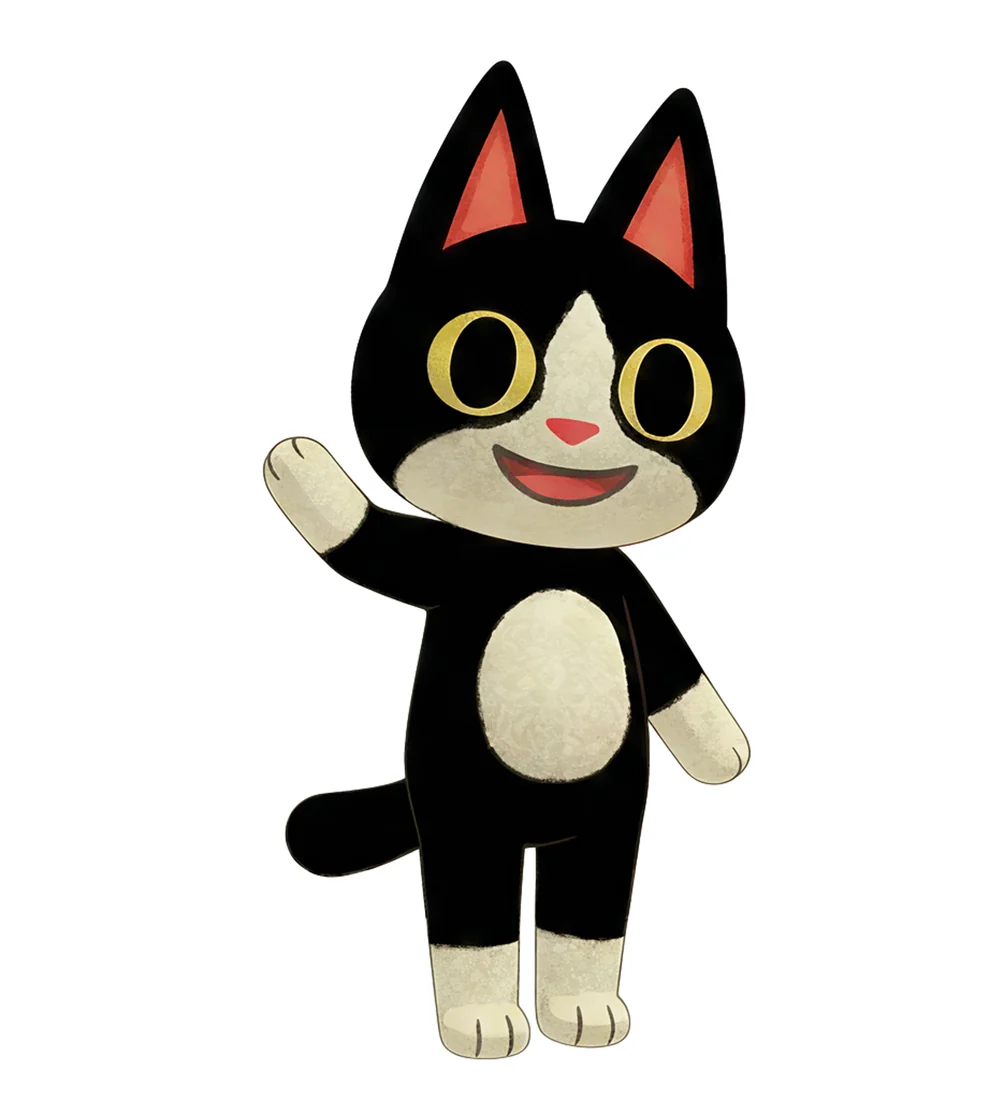
One of four Multi outputs — the uploaded character waving

Four different edits in one run

Multi mode takes one image and four quick briefs and returns four full-size results in a single generation — same character in every one. Write your own briefs or roll a random set of poses, emotes and views.

Open the character sheet generator →
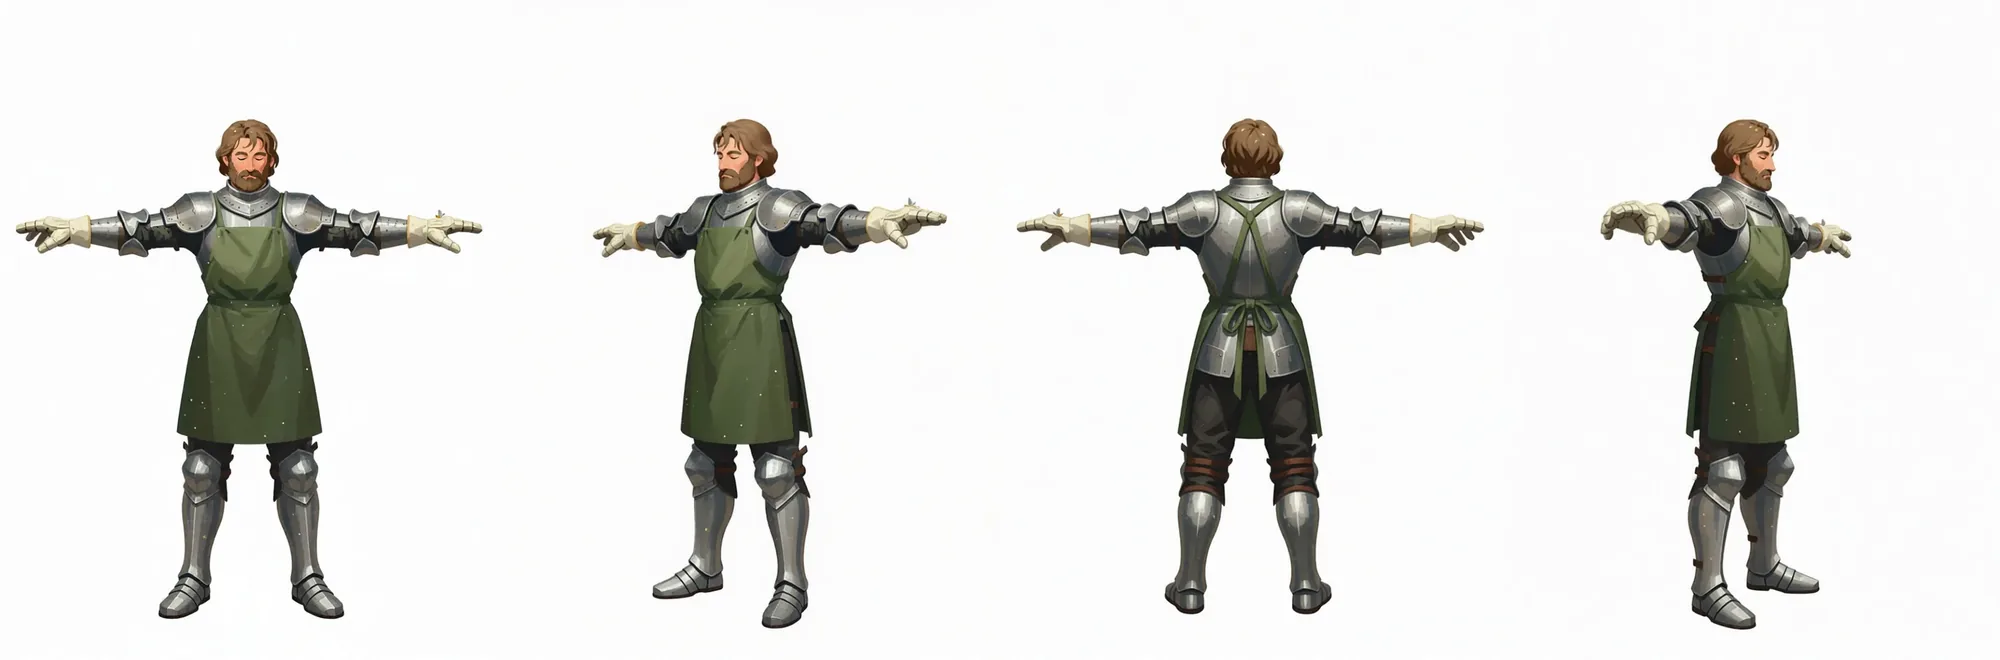
Combined turnaround sheet — T-pose, right, back and left views side by side

Or turn one image into a full turnaround

The turnaround pipeline renders a full-body T-pose from your upload first, then rotates that render into right, back and left views — four consistent full-size images plus a free combined sheet.

FLUX.2 image editing — FAQ

What is FLUX.2 image editing?

FLUX.2 [klein] from Black Forest Labs unifies image generation and editing in one model: upload a reference image, describe the change in plain English, and it renders an edited version. It's fast — the distilled klein models finish in a few seconds.

What's the difference between FLUX 4B and FLUX 9B?

Both are FLUX.2 [klein] models. 4B is the fast, lightweight option — great for quick iterations. 9B is larger and slower but produces higher-fidelity detail. Switch between them in the Model selector; your image and prompt stay put.

Do I need ComfyUI, a GPU, or an API key to run FLUX.2 editing?

No. Everything runs server-side — open the page, upload an image, pick FLUX 4B or 9B, describe the edit, and generate. No workflow wiring, no local GPU, no API token.

What edits work best on FLUX.2 klein?

Reference-based transforms: restyling a character, changing outfits or props, adding elements, and style transfer from your uploaded image. Describe what you DO want in concrete terms — FLUX ignores negative prompts.

FLUX.2 vs Nano Banana 2 vs Qwen-Image-Edit-2511 — which should I pick?

FLUX.2 klein is the fast iterator. Nano Banana 2 (Google) leans photoreal and handles scenes/lighting beautifully. Qwen-Image-Edit-2511 is the identity-lock specialist for keeping a character exactly recognizable. Same tool — switch models any time.
Activity
Recent Jobs

Your recent jobs show up here

Sign in to start — 40 free credits every month, no card.

Audio input