
Table of Contents
Why characters drift
Run the same description twice and you get two different people. That is not a bug you can prompt your way out of — a text description is a category, and the model fills in everything you did not say, differently, every time. “Auburn hair, green eyes” has millions of valid faces in it.
So the fix is not a better sentence. The fix is to stop generating from the sentence as soon as you have one image you like, and generate from that image forever after. Everything below is that idea, in order.
Step one: get to an image fast
You need one good frame, not a perfect prompt. Generate Character has two lanes for getting there, and they are separate rows in the model dropdown rather than a hidden mode:
- EZ Describe — describe your character from text. Best when the character does not exist yet.
- EZ Image Remix — upload an image and get a new character back, reinterpreted in the style you pick. Best when you already have a sketch, a photo, or a render you want to work from.
Ask for more than one at a time. The count control offers 2, 4, 6 or 8 variations per run and starts at 2 — running 4 and picking one beats running 1 four times, because you are choosing between options instead of re-rolling and hoping.
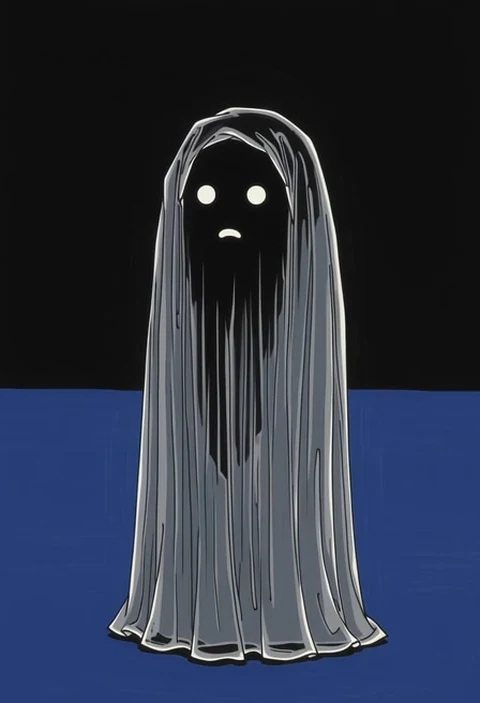
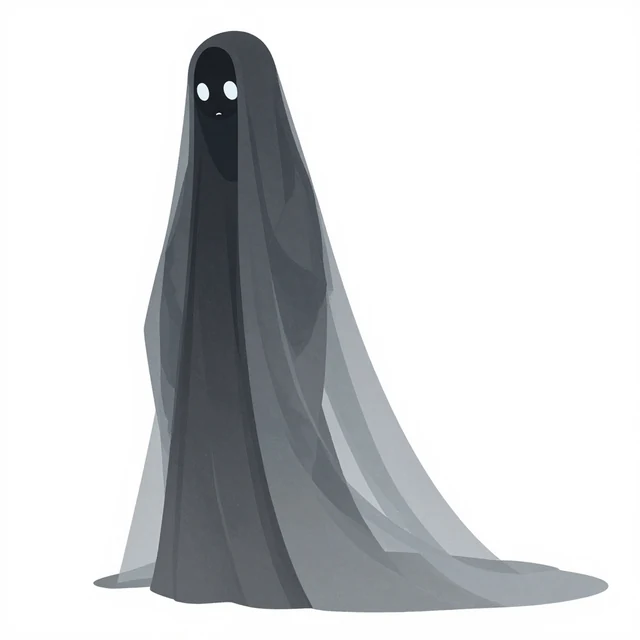
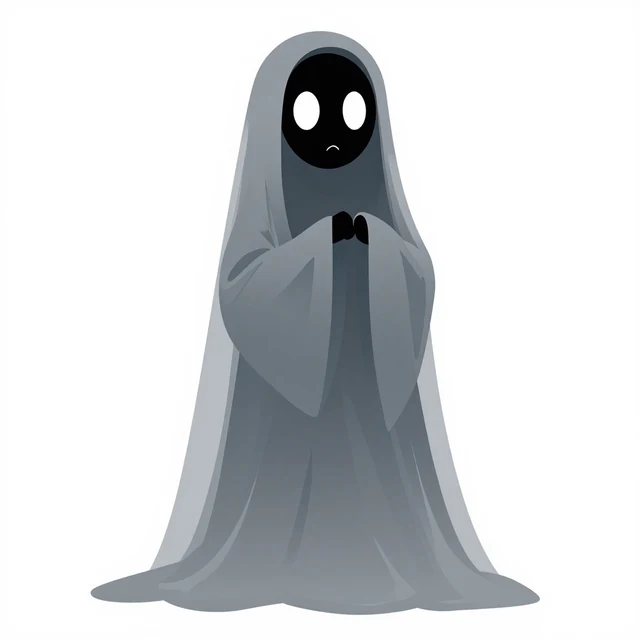
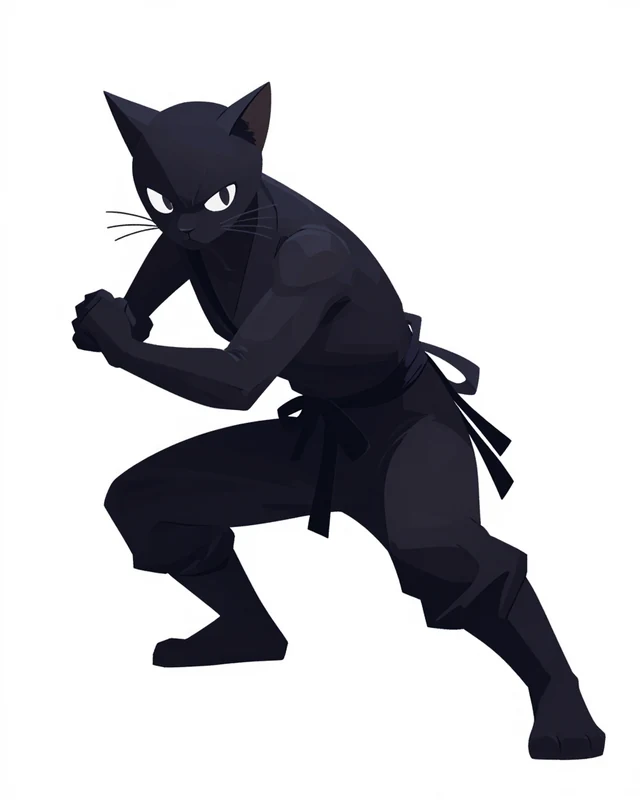
Prompt rules that actually apply here
Three rules do most of the work, and one of them is the opposite of advice you will find elsewhere.
Put the subject first
Word order carries weight. Lead with what the thing is, then the detail:
a stocky river otter in a postman uniform, satchel over one shoulder, mid-strideDescribe what you want, never what you don’t
Negative prompts are not a thing here. Writing “no colour” puts colour in the prompt; the model has no mechanism for the “no”. Say the positive form of the same thing instead:
monochrome, grayscale ink illustrationDon’t repeat the style you already picked
Style, framing and background are set by the controls around the box, and they get added to your text automatically. Writing them again just fights them. Keep your words for the things only you know — the character.
Step two: lock a turnaround sheet
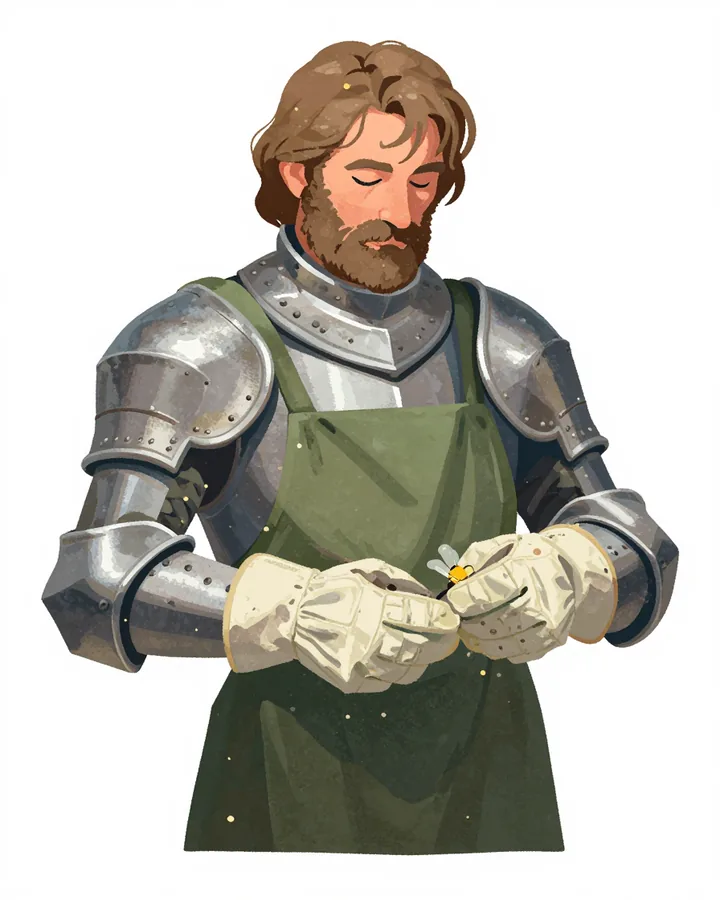
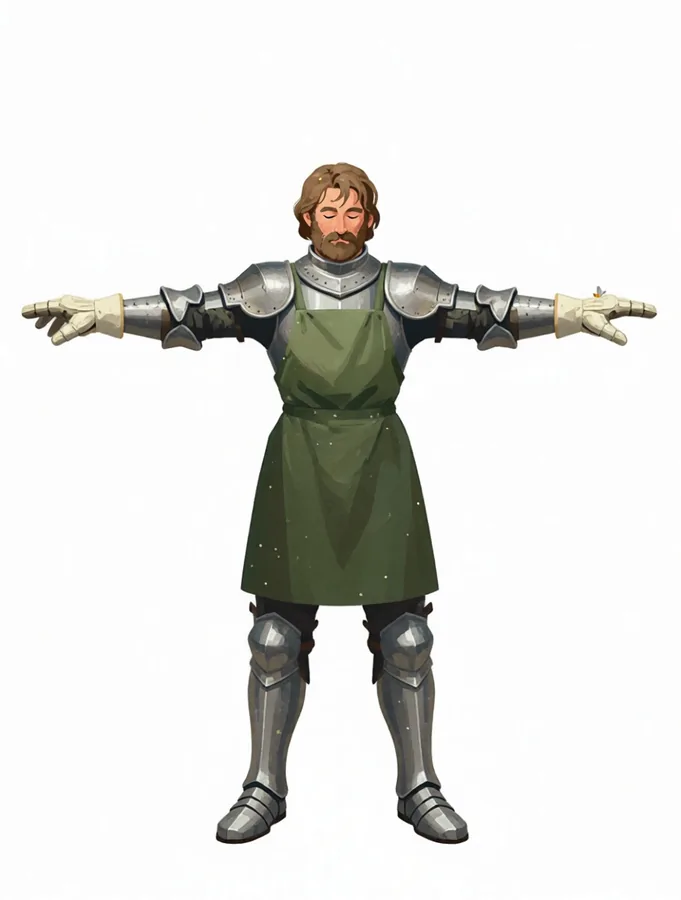
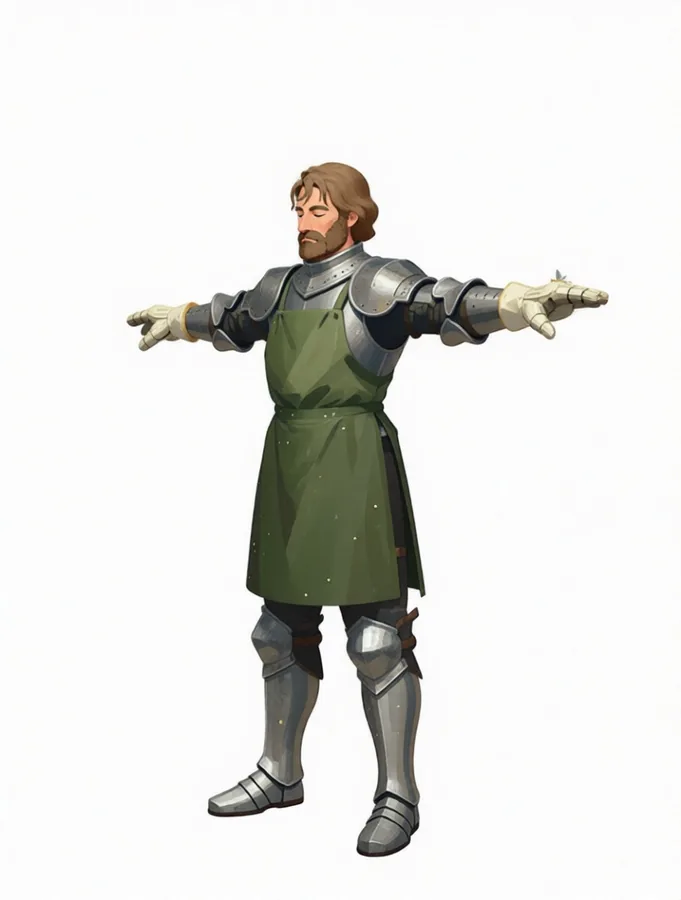
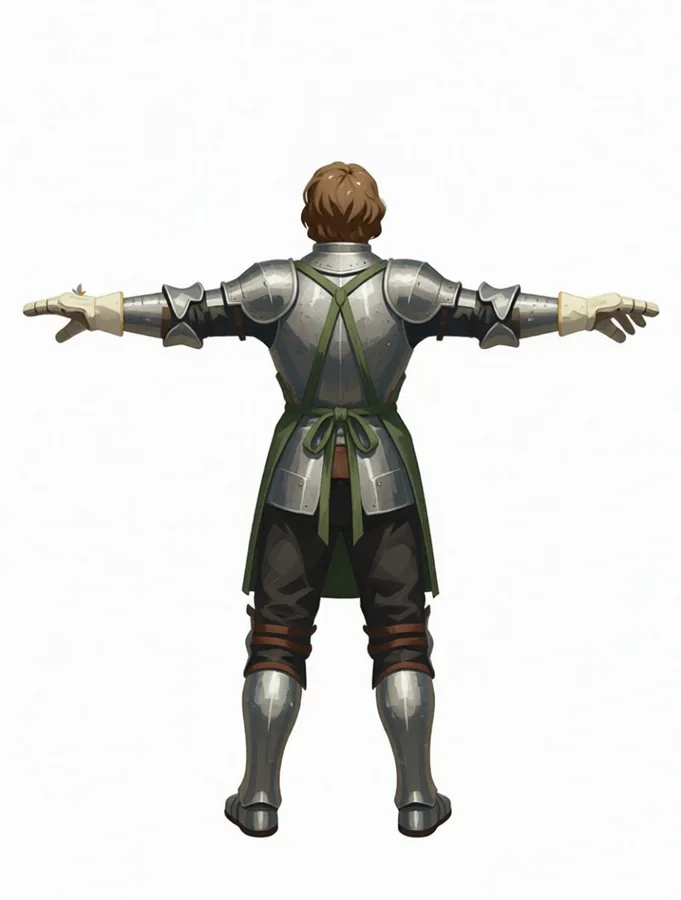
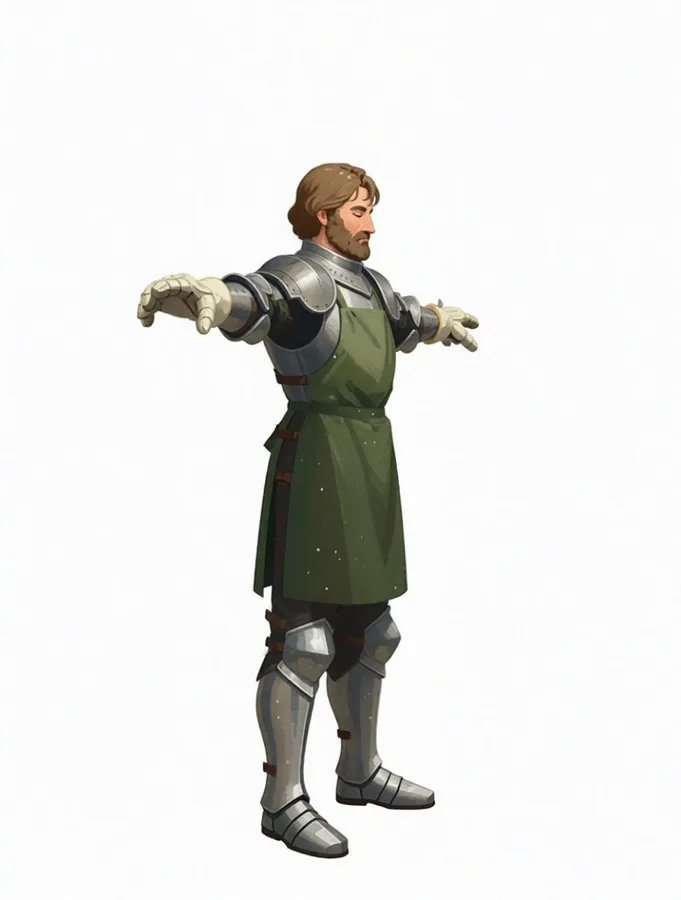
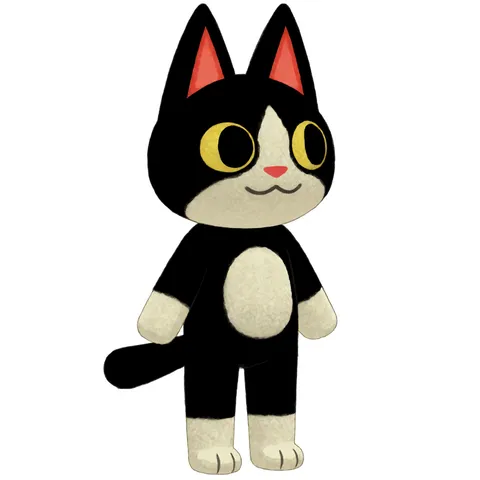
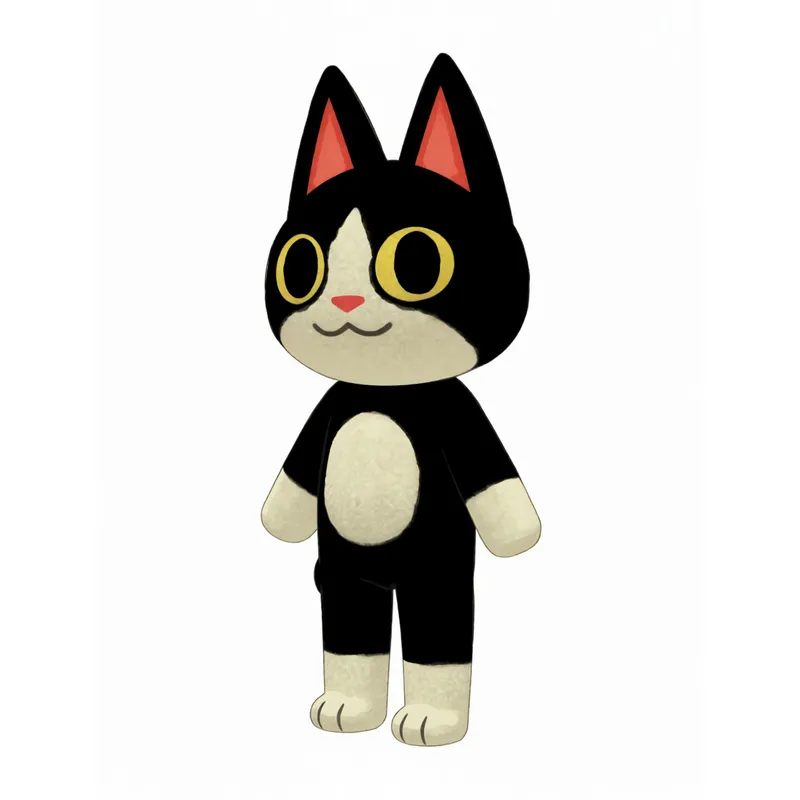
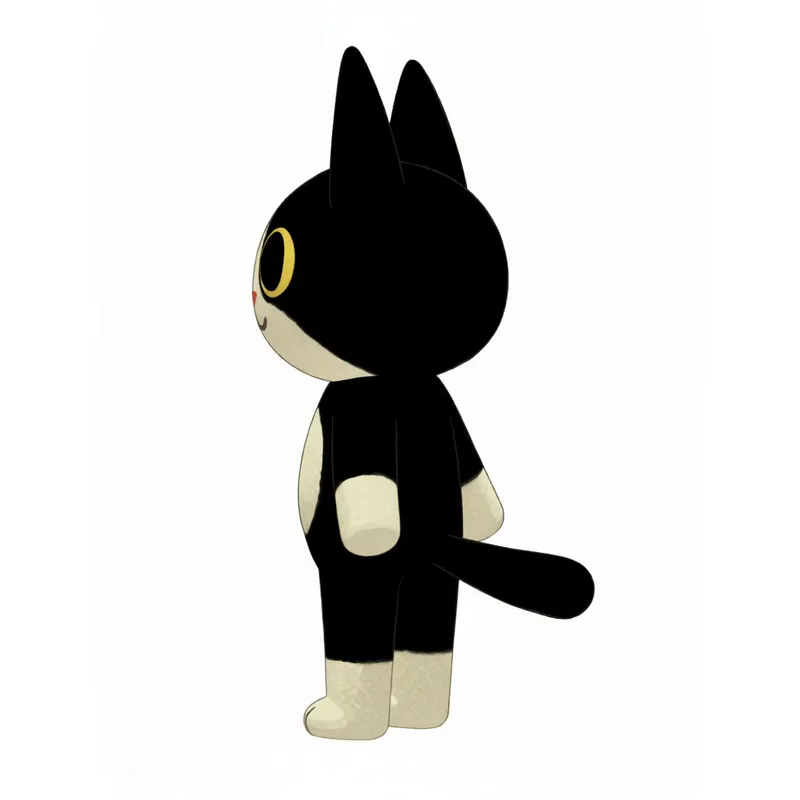
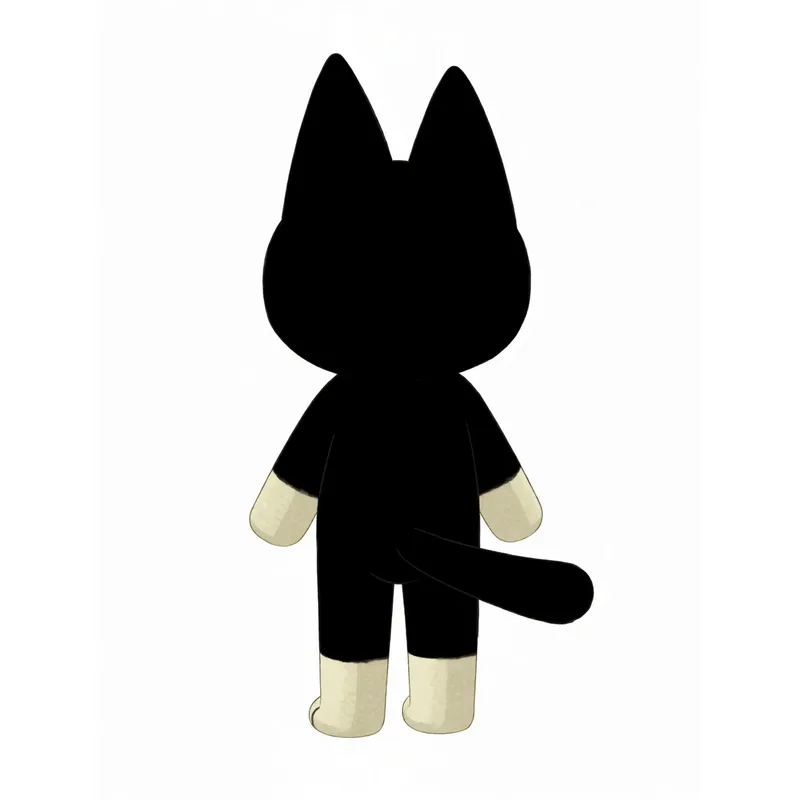
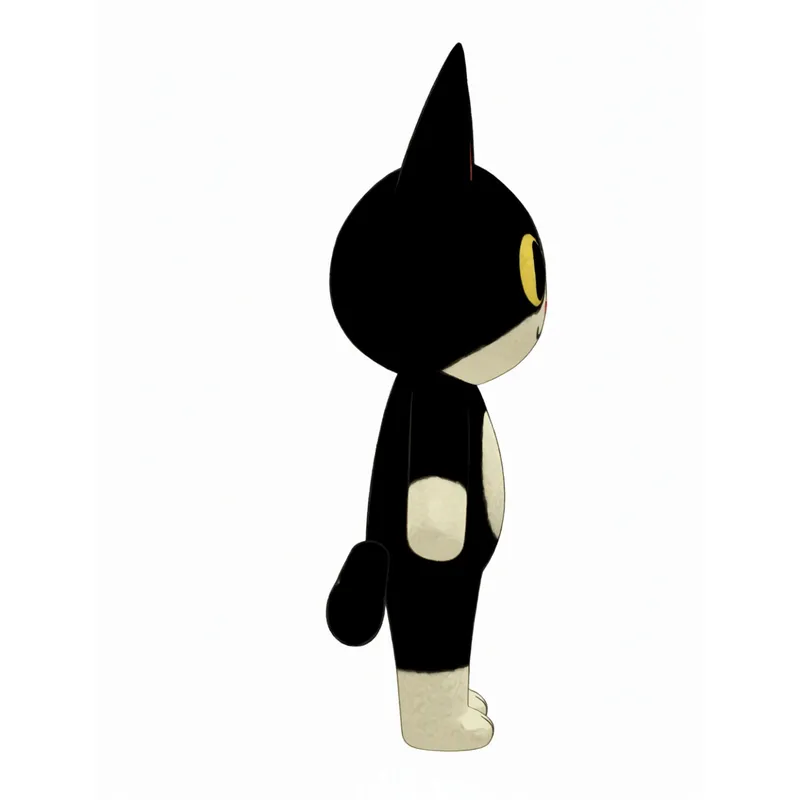
This is the step people skip, and it is the one that makes the rest work. A turnaround sheet takes your one good frame and produces the same character from several angles — and it does it in a deliberate order rather than all at once.
- 01 A full-body T-pose is rendered from your upload Even if you uploaded a headshot — the body has to exist before it can be rotated.
- 02 Each rotated view is rendered from that T-pose Not from your original. Every angle rotates a proper standing figure instead of guessing a body.
- 03 The finished renders are composited into one sheet Assembled from the full-size images, not sliced out of a contact sheet — so each view keeps its own resolution.
Step three: work from the sheet, not the description
With a locked character in hand, every further variation is an edit of an image rather than a fresh roll of the dice. Each of these takes your character as the input:
- Multiple Angles — more camera positions around the same figure.
- Repose — same character, new body pose.
- Expression Sheet — a run of faces for dialogue and reaction shots.
- Outfit Variants — wardrobe changes without redrawing the person.
- Object Swap — change what they are holding or wearing, leave the rest alone.
- Scene Creator — put two to four finished characters into one scene together.
Style is a separate decision from identity
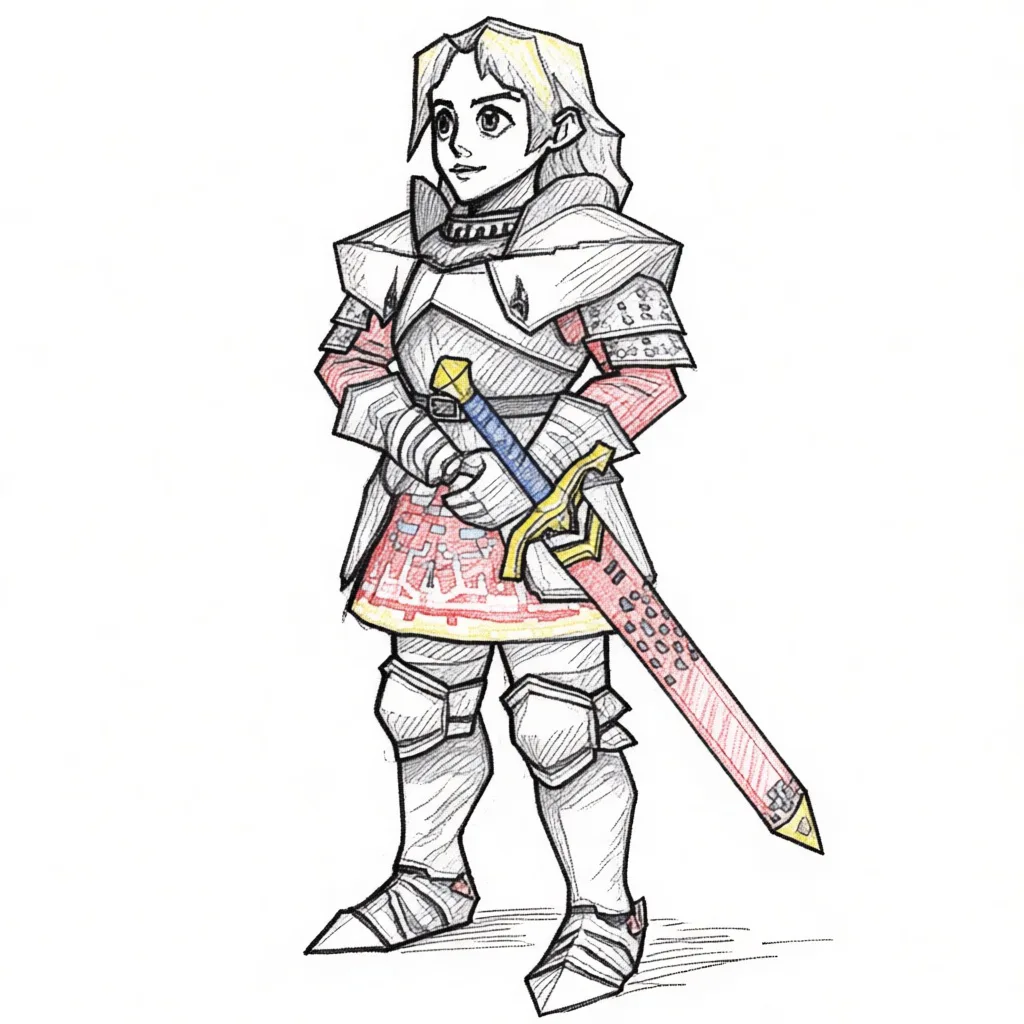
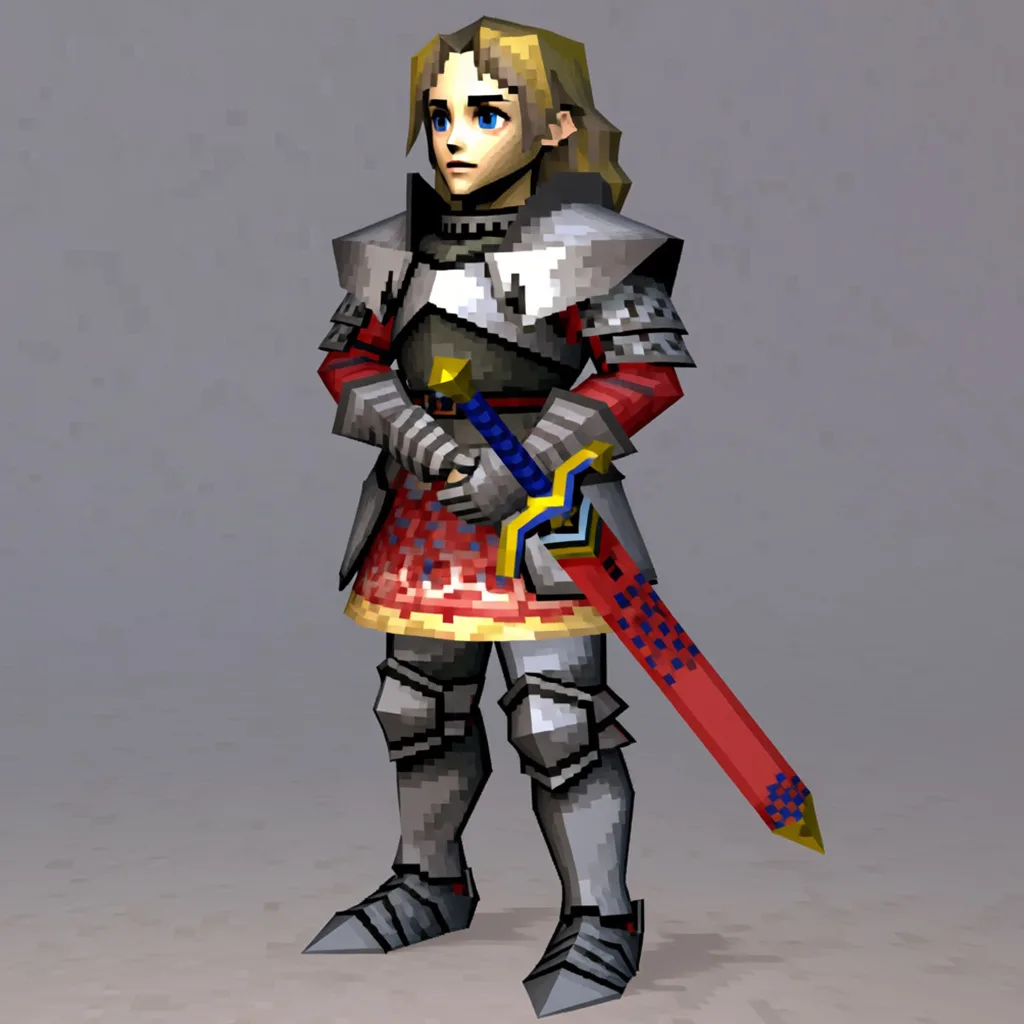
Treat “who this is” and “what it is drawn like” as two different jobs. Once the character is locked, Restyle converts a finished image into another art style without you re-describing the character at all — the input is the description.
That ordering matters for a practical reason: a style change applied to a locked character changes only the rendering. A style word added to a text prompt changes the character too, because it changes what the model thinks it is drawing.
Finishing: background, crop, resolution
The last mile is not generative, and it should not be. Regenerating an image to fix its background is how characters drift back out again.
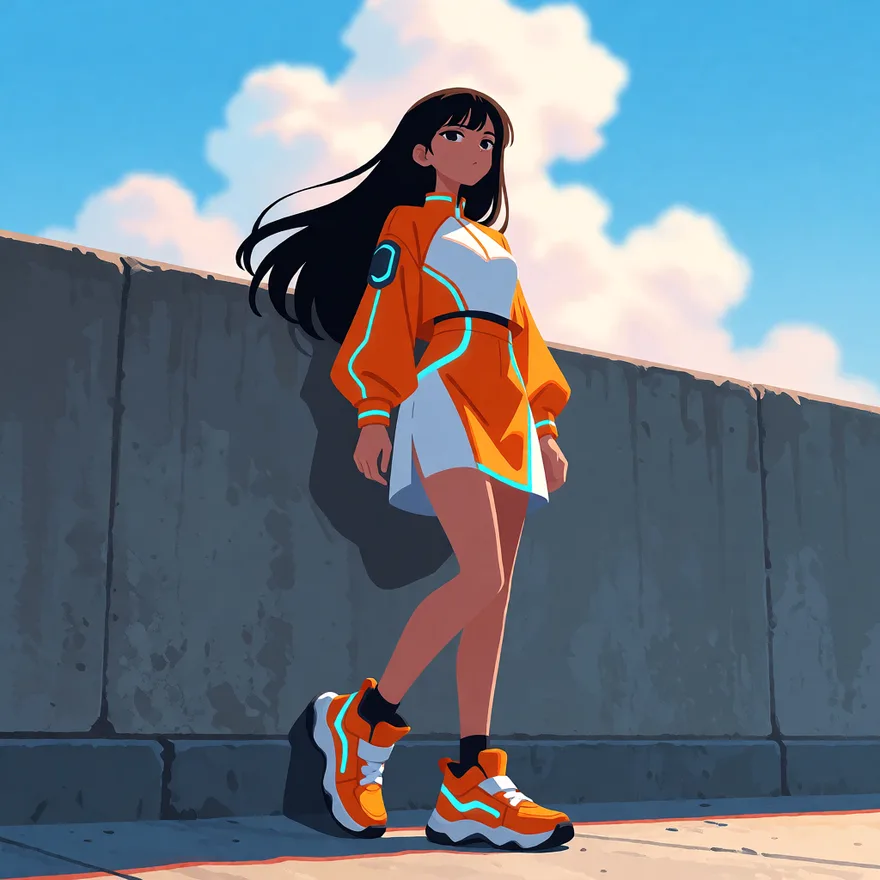
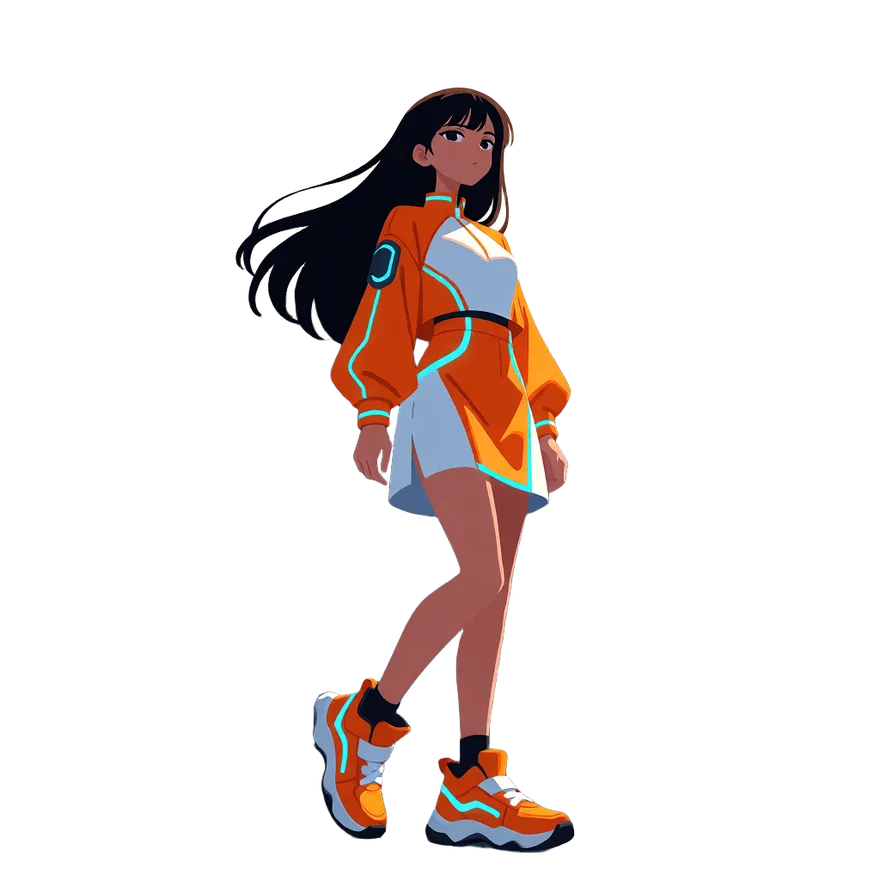
- Remove Background — cut the character out as a transparent PNG instead of prompting for a plain backdrop.
- Crop & Resize — framing, rotation and aspect changes happen in your browser, with no model involved and nothing to re-roll.
- Upscale — do it once, at the end, on the image you have already chosen.
Making the same character move
The same rule carries into video: animate the image you locked, don’t describe the character again to a video model.
- EZ Animate — one still in, a moving shot out. Pick a motion preset or type the motion you want.
- EZ Talking Avatar — one portrait speaks, lip-synced. Either write a line and pick a voice, or upload your own audio and it follows that instead.
The short version
Stop describing early
The moment one image is right, that image replaces your description.
Build the sheet first
A turnaround is the asset everything else is generated from.
Say it positively
Describe what you want. There is no “no” for the model to read.
Finish without the model
Background, crop and scale are edits, not generations.
Lock your character in one pass
Upload one image and get a turnaround sheet back — then everything else on this page has something to work from.
Build a turnaround sheet