
Capture Dynamic Character Angles with the 3D Camera
Flat, eye-level front views are fine for reference sheets, but dynamic camera angles turn a character render into a cinematic moment. The 3D camera angle tool gives you the control to frame shots like a director: low-angle hero angles that make characters look powerful, high-angle俯瞰 shots that emphasize vulnerability or scale, and Dutch tilts that inject tension and unease. Answer: Use the 3D camera angle tool to position the virtual camera at dramatic angles — low-angle, high-angle, and tilted Dutch shots — that give your character renders cinematic impact beyond flat front views.
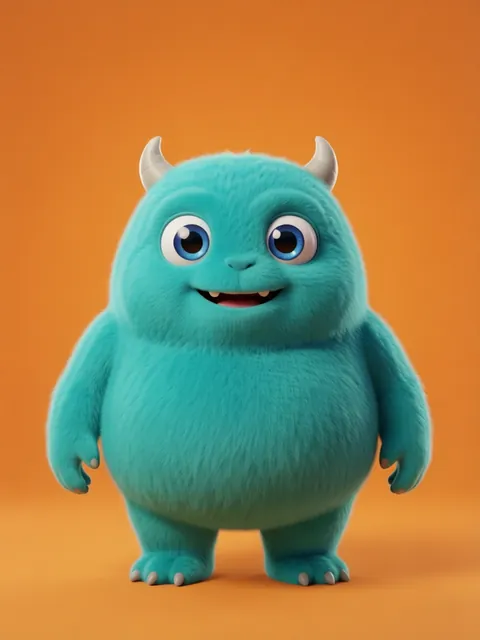
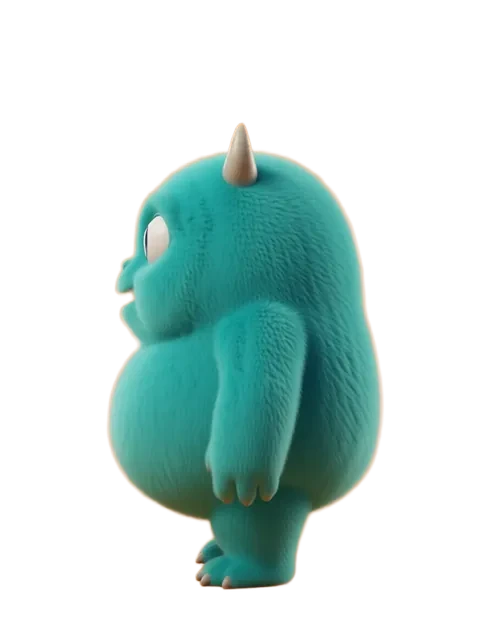
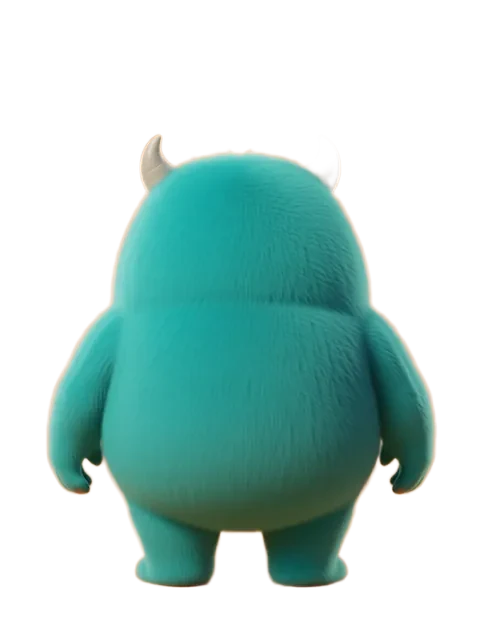
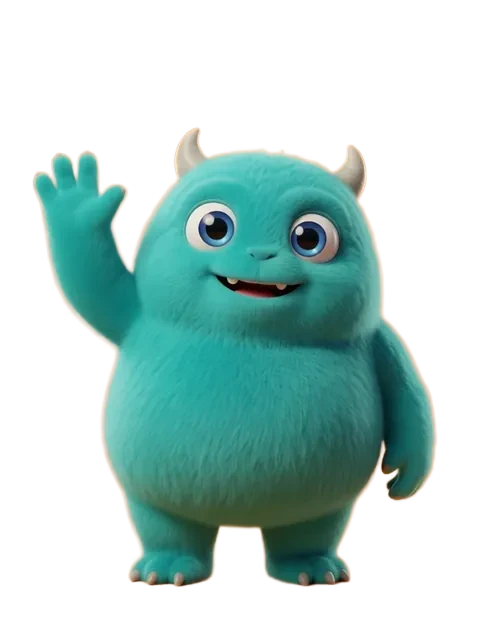
- 01
Set a Baseline Front-3/4 at Eye Level
Start with the camera at azimuth 45 (front three-quarter view), elevation 0, and a comfortable distance that frames the character from the waist up. Generate this as your neutral reference shot.
- 02
Drop Elevation for a Low-Angle Hero Shot
Lower the elevation to approximately -30 degrees so the camera looks up at the character from below. This makes the character appear larger, more imposing, and heroic. The low angle works especially well for warrior, villain, or leader character types.
- 03
Raise Elevation for a High-Angle Shot
Increase elevation to around +45 degrees so the camera looks down on the character. This high-angle俯瞰 perspective makes the character appear smaller or more vulnerable — ideal for defeated poses, sad expressions, or emphasizing an environment around the character.
- 04
Add Dutch Tilt for Dramatic Tension
Apply a slight roll/tilt of 5 to 15 degrees to create a Dutch angle. The tilted horizon introduces a subtle feeling of unease, action, or psychological tension. Use this sparingly — it is most effective for combat scenes, horror character reveals, or dream sequences.
- 05
Compare and Curate Your Shots
Generate the same character from all six cinematic positions: front-3/4 baseline, low-angle hero, high-angle俯瞰, Dutch tilt, worm’s-eye (extreme low), and bird’s-eye (extreme high). Lay them out side by side to see which angles best serve your project.
- Low-angle shots work best with characters that have strong jawlines or imposing designs — the upward perspective emphasizes these features.
- High-angle shots are most effective when the character looks up toward the camera, creating eye contact that reinforces vulnerability.
- Dutch angles should stay between 5 and 15 degrees — anything more looks unintentional or disorienting.
- Pair low angles with a slightly increased distance to capture the character’s full body and make the towering effect more dramatic.
- For comic panel reference, generate the same pose from 3 different cinematic angles and storyboard the sequence.
- Animation keyframe planning benefits from extreme camera positions — try bird’s-eye (elevation +75) and worm’s-eye (elevation -60) for unique storyboard frames.
- Game character splash art typically uses a low-angle front-3/4 view — the character looks powerful but still recognizable.
- The free tier includes 40 credits every month with no daily cap. Upgrade to PRO for 900 credits a month if you want more room for cinematic angle experimentation.
Frequently asked questions
What is a Dutch angle and when should I use it?
Which cinematic angle works best for character splash art?
Can I combine multiple camera techniques in one shot?
Are cinematic camera angles available on the free tier?
Ready to create consistent character views?
Upload a reference image and generate multi-angle views that stay true to your character.
Start generating