
Generate Multi-Angle Voxel Block Style Character Views
Voxel art — the blocky, cubic aesthetic made famous by Minecraft and refined by games like Teardown, Cloudpunk, and 3D Dot Game Heroes — turns characters into assemblies of colored cubes. It is deceptively simple: a few dozen blocks arranged cleverly can read as a knight, a wizard, or a cyberpunk hacker. But getting those blocks to read consistently from every angle is the hard part. A block placement that looks like an eye from the front might look like a random protrusion from the side. Answer: Use EZ Character’s multi-angle generator in voxel/block style to render the character from 8 angles at once, with isometric camera positioning, so you can verify that block placements make sense from every direction — essential reference for voxel modelers, Minecraft skin designers, and cube-world game artists.

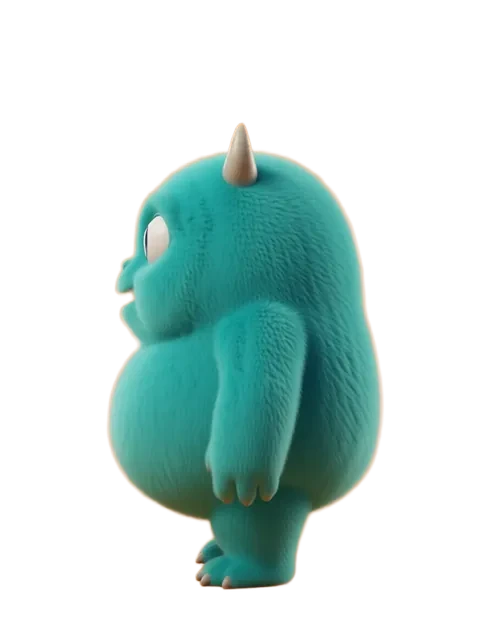
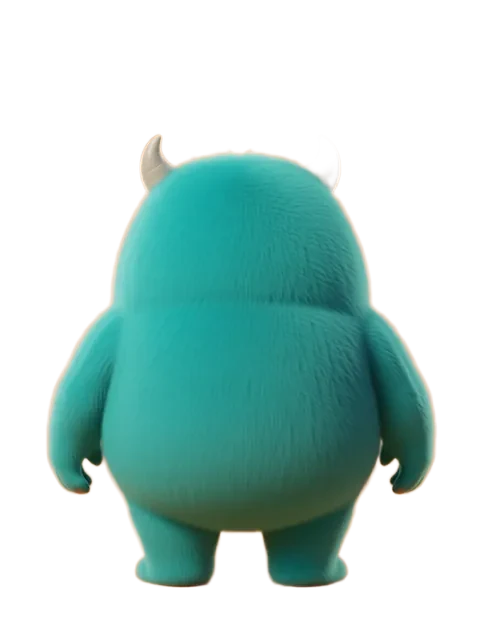

- 01
Design character with blocky/voxel proportions (cubic head, rectangular limbs)
Describe the character in terms of block units rather than smooth anatomy. A voxel character typically uses a 1x1x1 cube for the head, 1x1x2 or 1x1x3 rectangular prisms for torso, and 1x1x2 blocks for each limb segment. Accessories — hats, weapons, shoulder pads — are built from half-blocks, slabs, and smaller cube clusters. EZ Character’s prompt system works with descriptive language; specify "voxel block character, cubic head, rectangular block limbs, no curves or rounded surfaces" to guide the generation toward clean voxel geometry.
- 02
Generate 8-angle voxel style reference with consistent block resolution
Use the 8-angle generation mode to render the voxel character from all cardinal and diagonal directions (0, 45, 90, 135, 180, 225, 270, 315 degrees). The key metric is block resolution consistency — each angle should show the same number of blocks in the same spatial relationship. If the character’s left arm is 3 blocks wide from the front, it should still read as 3 blocks thick from the side. Run all 8 angles in a single batch to ensure consistent render parameters, then review the contact sheet for any angle where block placement appears to shift or change density.
- 03
Set camera to isometric (azimuth 45, elevation 35) for best voxel readability
Voxel art reads best from isometric camera angles because the blocky geometry aligns naturally with the isometric grid. Set azimuth to 45 degrees and elevation to approximately 35 degrees — the standard isometric viewpoint. From this angle, each cube’s three visible faces (top, front-left, front-right) receive distinct lighting, making block boundaries clear and the character’s volume readable. Isometric projection also eliminates the perspective distortion that can make voxel characters look warped or uneven from extreme camera angles.
- 04
Verify block count and placement consistency across angles
Inspect each of the 8 rendered angles side by side. Count visible blocks in key areas — head width in blocks, torso height in blocks, limb thickness in blocks — and confirm the counts match across angles. Look for "vanishing blocks" (faces visible from one angle but occluded or absent from another) and "phantom blocks" (extrusions that appear in one angle but not neighboring ones). Any inconsistencies indicate the generation prompt needs refinement — add more specific block-count constraints or positional anchors to the prompt and regenerate.
- 05
Export as voxel model sheet reference or Minecraft skin unwrap template
Export the 8-angle voxel reference sheet as a single composited image at high resolution. This serves as a voxel modeling blueprint: open it alongside MagicaVoxel, Blockbench, or Qubicle and build the 3D model with the angle references as guides. For Minecraft skins, use the front, side, and back renders as unwrap references — map each visible face to the corresponding area of the 64x64 skin template. For custom voxel engines, export the individual angle renders as directional sprite frames for each character.
- Define a "block unit" size upfront — e.g., "one head equals one 8x8x8-pixel cube" — and reference it in every angle prompt to enforce scale consistency across all renders
- Keep voxel characters to a limited block palette (4-8 distinct colors) for readability — too many colors at small block resolution creates visual noise instead of clarity
- The isometric angle is non-negotiable for voxel readability — at flat front view, voxel characters look like flat pixel art; at isometric, the three-dimensional block structure becomes obvious
- Build a "voxel wireframe" first — a simple block-count specification (head: 8x8x8, torso: 8x12x4, etc.) — and use it as a prompt anchor for every angle to maintain structural consistency
- For Minecraft skin compatibility, ensure the outer "clothing" layer blocks align with the inner "body" layer blocks — mismatched outer layers create visual confusion at diagonal angles
- Export at integer multiples of your block resolution — if each block is 16 pixels, export at 256, 512, or 1024 pixels wide for clean block-edge rendering without subpixel blur
- Render ambient occlusion passes (if available) for voxel characters — the subtle corner darkening where blocks meet dramatically improves depth perception in low-resolution voxel art
- Test your voxel character in a game engine mockup at actual in-game size (often 32x32 or 64x64 pixels) before calling the reference sheet done — details visible at 512x512 may disappear at game resolution
Frequently asked questions
What is the difference between voxel style and low-poly style?
How do I make sure my voxel character looks right from all 8 angles?
Can I generate voxel characters on the free tier?
What resolution should I export voxel character sheets at?
Ready to create consistent character views?
Upload a reference image and generate multi-angle views that stay true to your character.
Start generating