
How to Generate Multi-Angle Views in Graffiti Street Art Style
Graffiti character art lives by two rules: read it from across the street, and make the outline do the heavy lifting. Street art characters are designed for distance — thick outlines, high-contrast color blocks, and silhouettes that punch through visual noise. When you generate a multi-angle graffiti character set, you are not just rotating a figure; you are verifying that the tag-style identity holds from every approach. The spray-paint texture, the deliberate drip accents, the vibrant palette — all of it must stay locked across angles so the character reads as one continuous wall piece. This workflow walks you through designing bold graffiti-friendly shapes, generating 8 angles with authentic spray texture and drips, verifying tag consistency across views, adding contextual street backgrounds, and exporting for large-format production. Answer: You generate multi-angle graffiti character views by designing bold shapes with thick outlines and high contrast, producing all 8 angles with spray-paint texture and drip accents, verifying tag-style consistency across views, adding brick wall or concrete texture backgrounds, and exporting for large-format printing with a colorfast CMYK profile.
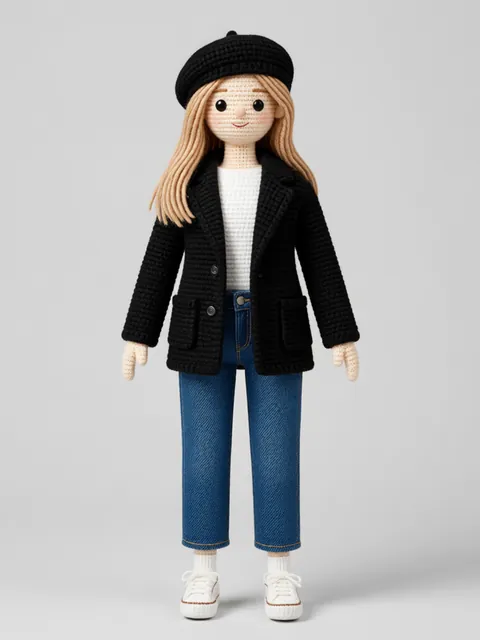
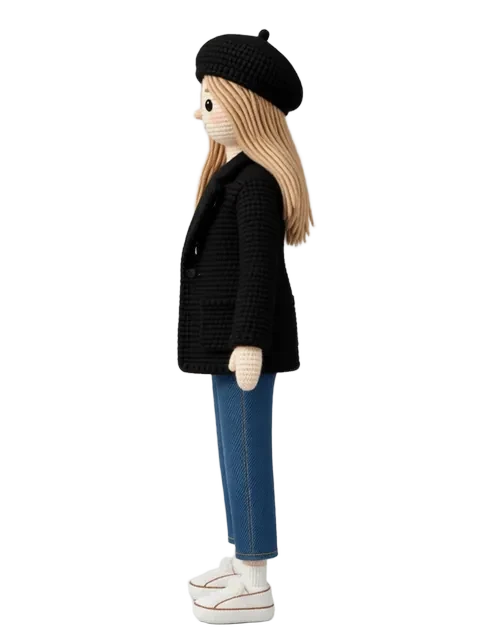
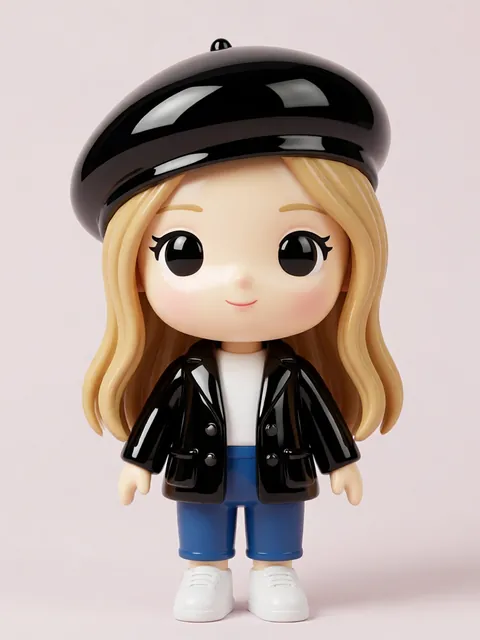
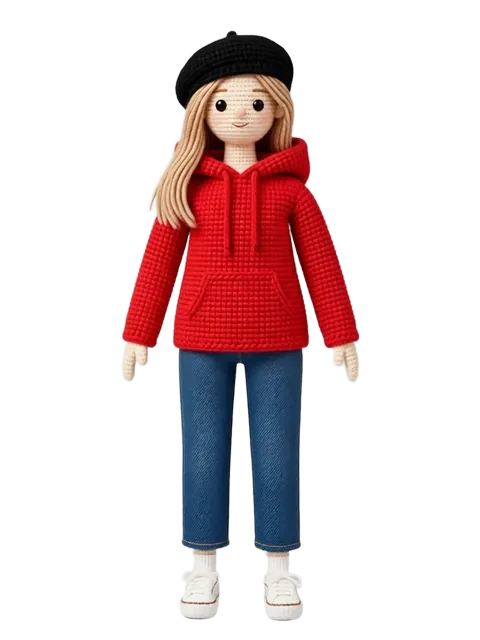
- 01
Design Your Character with Bold Graffiti-Friendly Shapes
Graffiti characters are built for wall scale. Design with thick outlines (minimum 3-4px equivalent at target resolution), high-contrast color blocks with 3-5 colors max, and silhouettes readable at distance. Describe your character in terms of "tag energy" — angular gesture, sharp transitions, dynamic asymmetry. Use terms like "spray-paint silhouette," "drip-ready contour edge," and "can-control stroke weight." The character should look good at thumbnail size (200x200px) because that is how people first see street art. Avoid fine interior detail that would be lost at wall distance.
- 02
Generate the 8-Angle Set in Graffiti Style with Spray-Paint Texture and Drip Accents
Generate all 8 angles with a consistent graffiti style prompt: "street art character, spray-paint texture, bold black outlines, vibrant color fills, paint drip effects, matte finish, aerosol can texture." Include "fat cap" and "skinny cap" line references for outline variety — fat cap for thick outer contours, skinny cap for interior detail lines. Request visible nozzle spray pattern texture on filled areas. For each angle prompt, only change the view direction; keep all style tokens identical. The spray texture density should be consistent across views so no angle reads as flatter or busier than the others.
- 03
Verify Tag-Style Consistency and Color Scheme Across Angles
Layout all 8 angles in a grid and audit three things. First: outline weight consistency. The thick outer contour should be the same apparent width in every view. Second: color scheme fidelity. If your character uses neon green (#39FF14), safety orange (#FF6700), and deep purple (#4B0082), those exact hex values should be recoverable from every angle. Third: drip placement logic. Drips should follow gravity direction in each view — if drips appear on the front view, they should be visible (and correctly rotated) in the three-quarter views too. Flag any angle where the color blocks shift hue or saturation beyond 5% tolerance.
- 04
Add Brick Wall or Concrete Texture Background for Context
Street art is inseparable from its surface. Apply a brick wall or concrete texture behind each character view at 30-40% opacity. Use the same wall texture across all 8 angles — consistent mortar lines, same brick color, same weathering pattern — so the set reads as one continuous wall piece. For brick walls, orient mortar lines horizontally across all views. For concrete, apply a uniform grey (#808080) base with subtle aggregate speckle. The background should be present but recessive; the character is the focal point, the wall is context. Add a subtle vignette (darken edges by 10-15%) to simulate photographed street art.
- 05
Export for Large-Format Printing with Colorfast CMYK Profile
Graffiti art is made for big surfaces. Export all 8 views at 300dpi minimum, with a CMYK color profile (Coated FOGRA39 or GRACoL) for print production. For mural-scale output (6ft+ wide), export at 150dpi at final dimensions or provide vectorized outline alternatives. Create three export variants per angle: full-color print (CMYK TIFF), web-optimized (sRGB PNG at 2x), and outline-only (for screen-printing separations or stencil production). Package a contact sheet with all 8 angles at print scale for client approval before sending to the printer.
- Use "fat cap" and "skinny cap" terminology in prompts for authentic spray can line variety
- Limit your palette to 3-5 colors — graffiti characters read stronger with color economy
- Add a "halo" glow effect (2-5px) behind the character to simulate backlit wall presence
- Generate a companion "throw-up" (quick bubble-letter tag) for brand mark consistency
- Test your graffiti prompt on a single angle before committing to all 8
- For merchandise (decks, shirts), export at 300dpi with transparent background variant
- Reference specific graffiti artists in early prompts as style anchors (but only as reference, not imitation)
- Keep a library of brick/concrete texture files organized by wall color for reuse
Frequently asked questions
How many colors should I use in a graffiti-style character sheet?
Can I generate graffiti characters with a transparent background?
What resolution is best for graffiti-style multi-angle views intended for murals?
Does the free tier support graffiti street art style generation?
Ready to create consistent character views?
Upload a reference image and generate multi-angle views that stay true to your character.
Start generating