
EZ Character + Unity: Character Sprite Sheet to Game Engine Pipeline
Generate directional sprite sheets in EZ Character. Slice in Unity's Sprite Editor. Wire into Animator controllers. Your 2D character in Unity — from concept to game-ready in hours.
Why this combination
Unity 2D character setup traditionally requires hand-drawing or commissioning every directional sprite frame — idle front, walk right, attack left, etc. EZ Character generates all directional frames of the same character in one pass. Import the sprite sheet into Unity, slice it, and wire the frames into an Animator controller with directional blend trees. The result is a game-ready 2D character whose identity is locked across every direction.
Step-by-step workflow
- 1
Generate the directional sprite sheet
Upload your character to EZ Character. Generate a multi-directional sprite sheet — 4 or 8 directions — at your target game resolution.
- 2
Export sprite sheet PNG
Download the composited sprite sheet. Each directional frame is placed on a grid with consistent padding.
- 3
Import into Unity
Drag the sprite sheet into your Unity Assets folder. In the Inspector, set Texture Type to Sprite (2D and UI), Sprite Mode to Multiple, and apply.
- 4
Slice the sprite sheet
Open the Sprite Editor. Use Grid by Cell Size slicing with dimensions matching your EZ Character frame size. Unity will create individual sprite assets for each frame.
- 5
Create animation clips
Select the directional frames for each direction. Create Animation Clips: Idle_Down, Walk_Down, Idle_Up, Walk_Up, etc. Each clip references the correct directional sprites.
- 6
Build the Animator controller
Create a Blend Tree with two float parameters (Horizontal, Vertical). Map each direction's animation clips to the corresponding blend values. Add transitions between Idle and Walk states.
Pro tips
- Generate sprite sheets at native game resolution — Unity's pixel-perfect camera works best without scaling
- Use consistent frame dimensions so Unity slicing is a single operation across the whole sheet
- Add 1–2px padding between frames to prevent edge bleeding in Unity's texture atlas
- Generate separate idle, walk, and action sheets from the same EZ Character reference
Frequently asked questions
What sprite resolution should I use for a Unity 2D game?
Does this work for Unity's 2D Animation package (bone-based)?
Can I use this for 3D Unity characters?
How many animation frames should I generate?
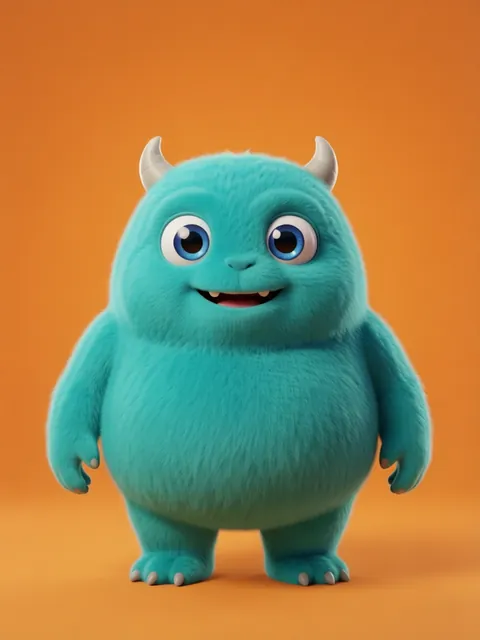
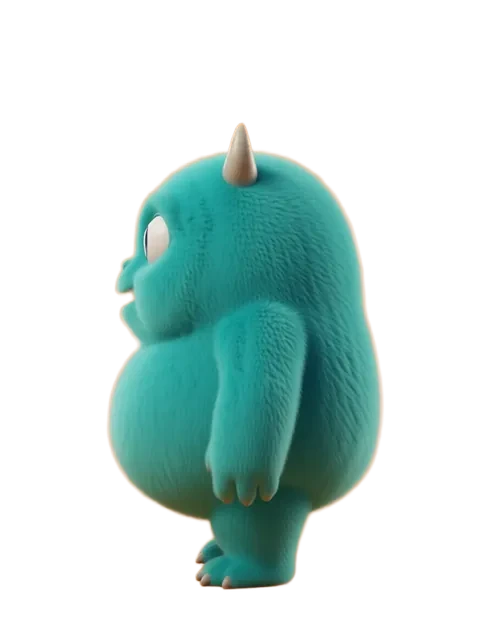
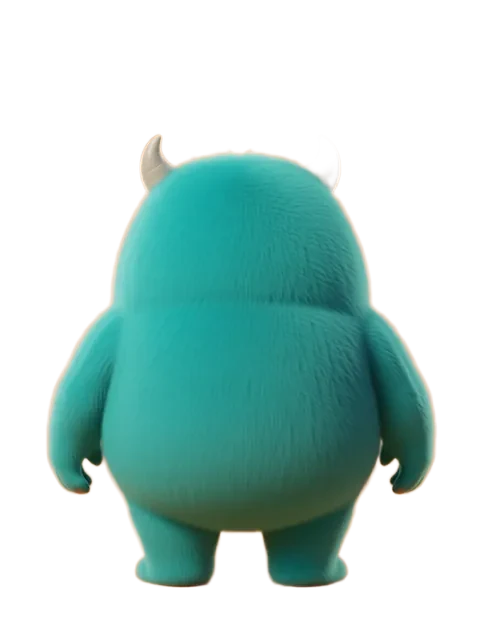
Start your Unity character pipeline
Generate the multi-angle character reference in EZ Character. Import into Unity. Ship faster.
Try EZ Character freeFree tier: 40 credits every month. No credit card required.